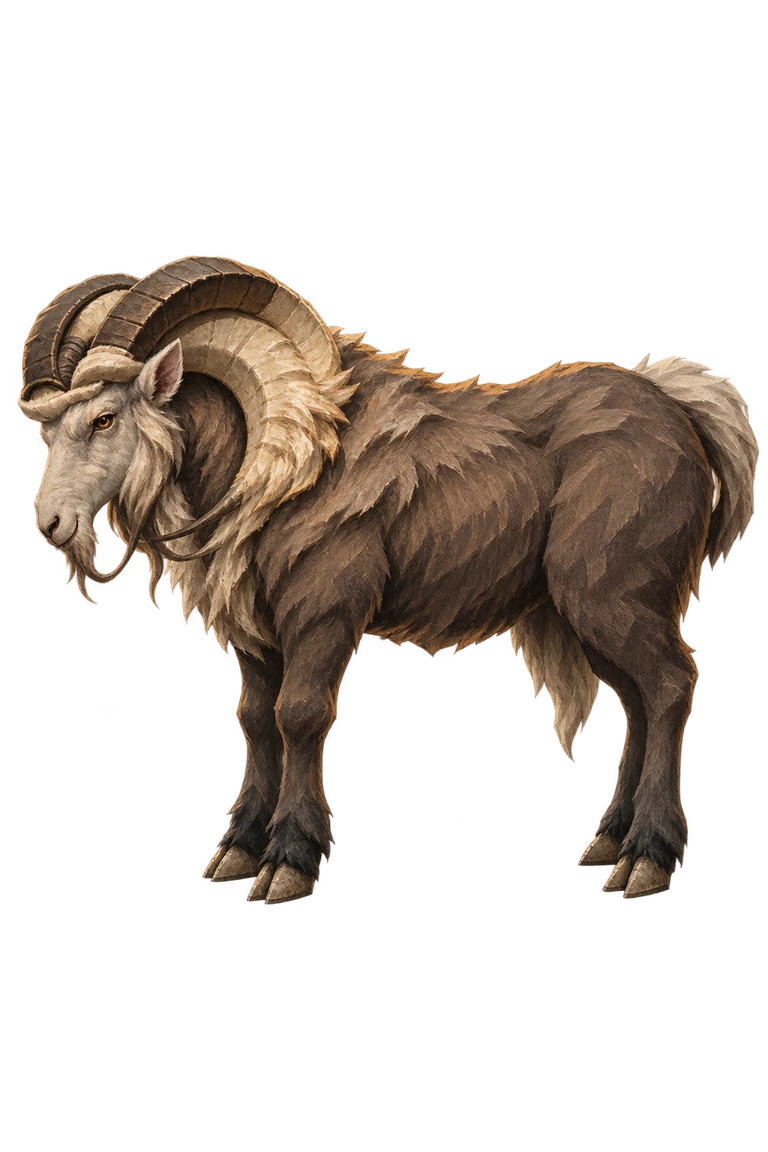
Scree Ram · Downhill charge
The split horns drop before the ram commits. Step across its lane and turn back during the recovery.

 Enter game
Chapter V · Bestiary
Four creatures have claimed the switchbacks. The Last Weigher holds the crossing and a separate keeper waits in the Ballast Treasury.
Road foes
The split horns drop before the ram commits. Step across its lane and turn back during the recovery.
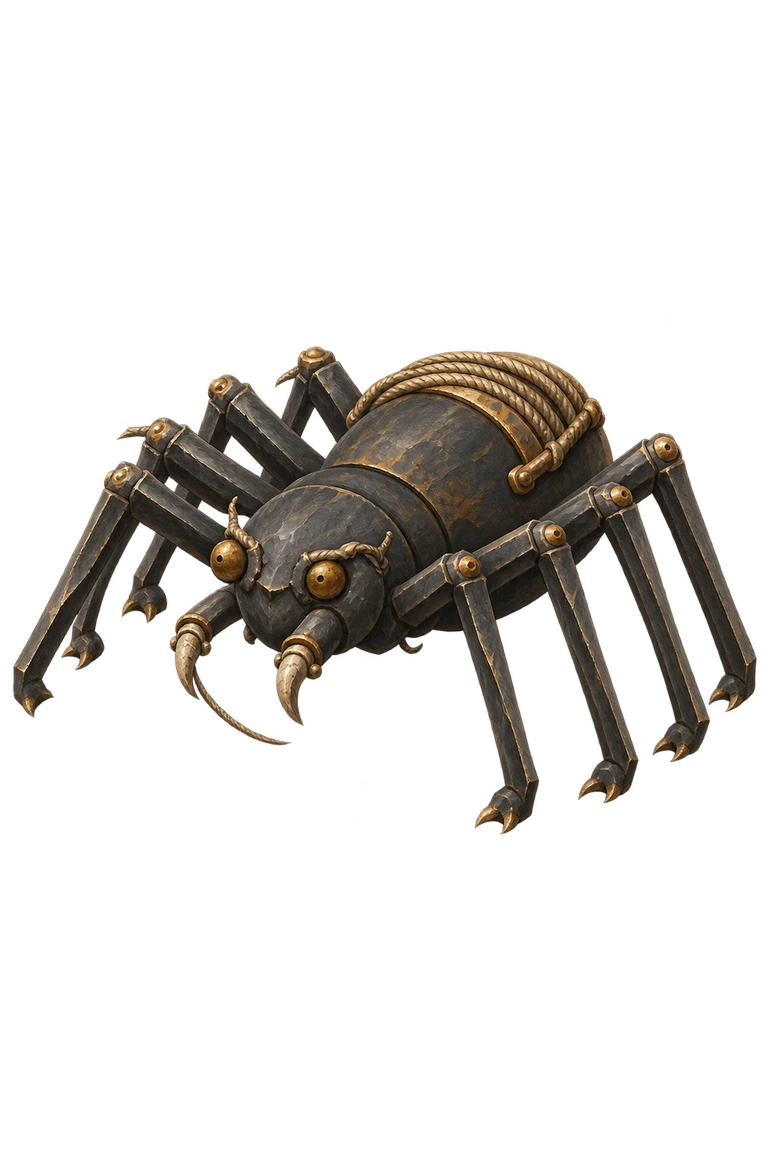
The creeper plants its brass-tipped legs before drawing a wire across the road. Clear the marked line before the cable tightens.
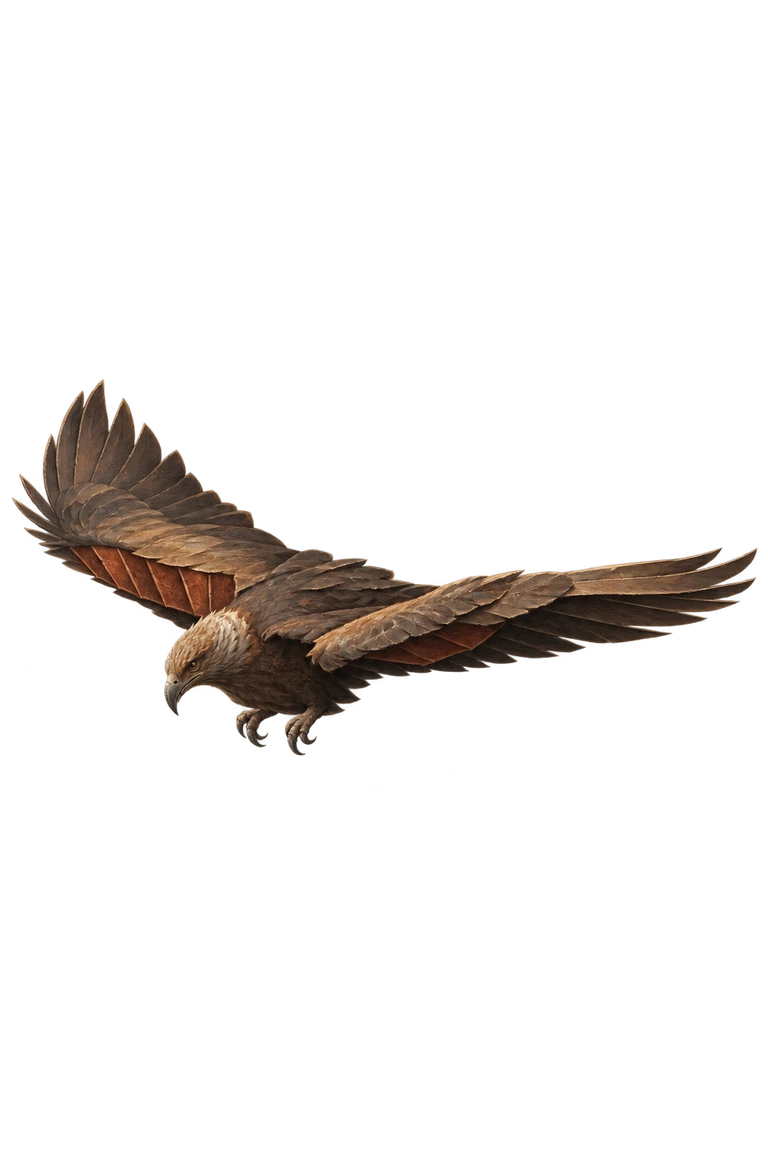
The kite banks on broad rust-red wings and opens its beak. Move across the gust, then close as it folds its wings.
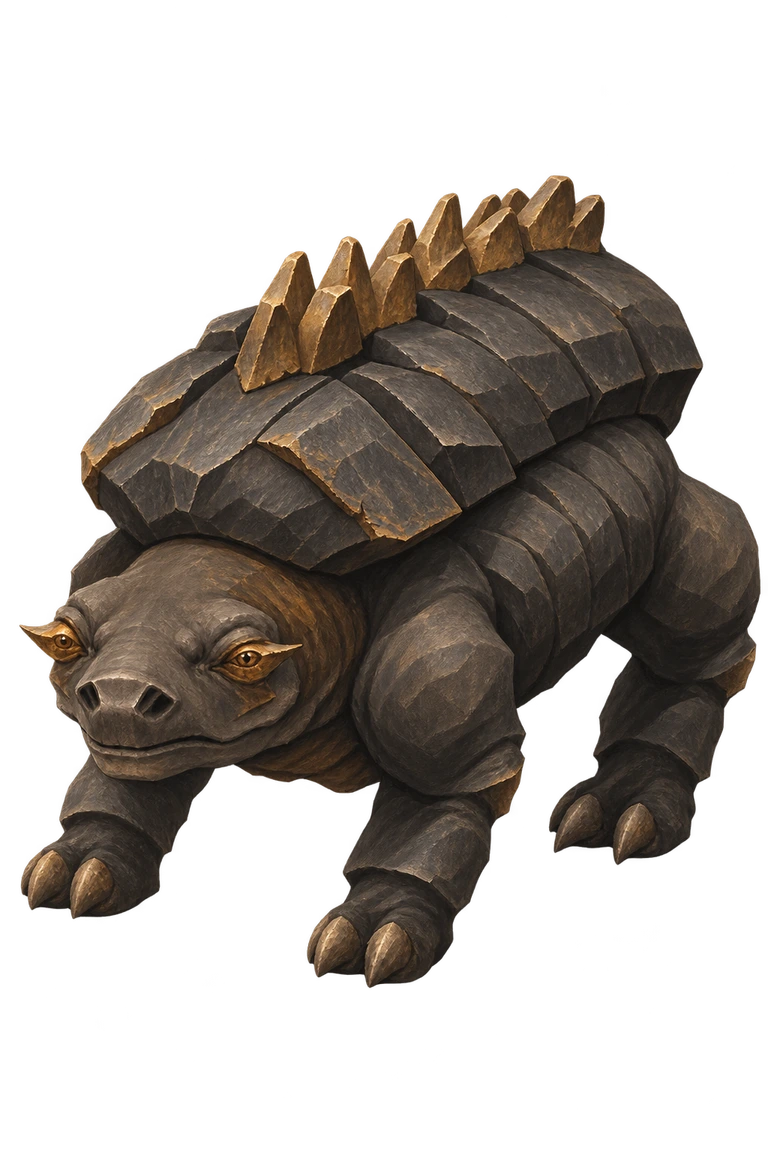
Look for the lifted row of pawls above the shoulders. Back away from the marked impact, then strike while the feet are still planted.
The loading court gives you two things to watch. The rig tells you where a basket will move, while the creatures tell you where the next blow will land. Walk around the empty platform before the first defense. Find a clear way past the wagon and a place where you can see both approaches. A dodge into the side of a cart leaves you on the same line as the ram.
Watch the front of each creature. The ram puts the tips of its horns down before running. Give it a clear line and cross that line once it commits. The creeper plants its feet to set the cable. Follow the marked strip to one side and step off it. If another enemy is in the way, move early enough to leave yourself a second route. There is time to go back for a hit once the line has gone slack.
The kite can start its gust from farther away. A straight retreat keeps you in its path, so keep some space beside you. The pawlback makes a different demand. Its feet settle and its shoulders brace before it strikes the ground. Save a little room behind you when you close on it. In a mixed group, look for a spot outside the braced slam that also clears the kite’s line. Keep the brake wheel and both braces in view while reading a hostile warning.
Chapter and vault guardians
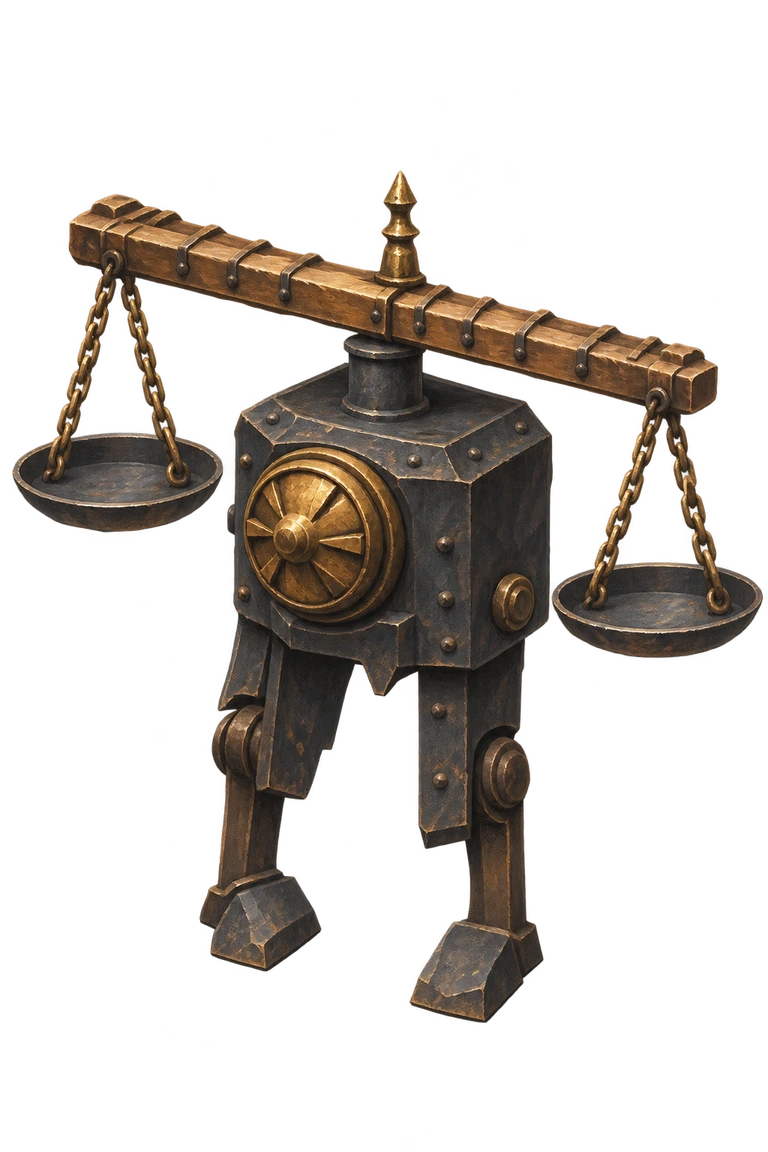
Watch where each pan will land. When the long beam turns across the road, clear its marked sweep and approach after it settles.
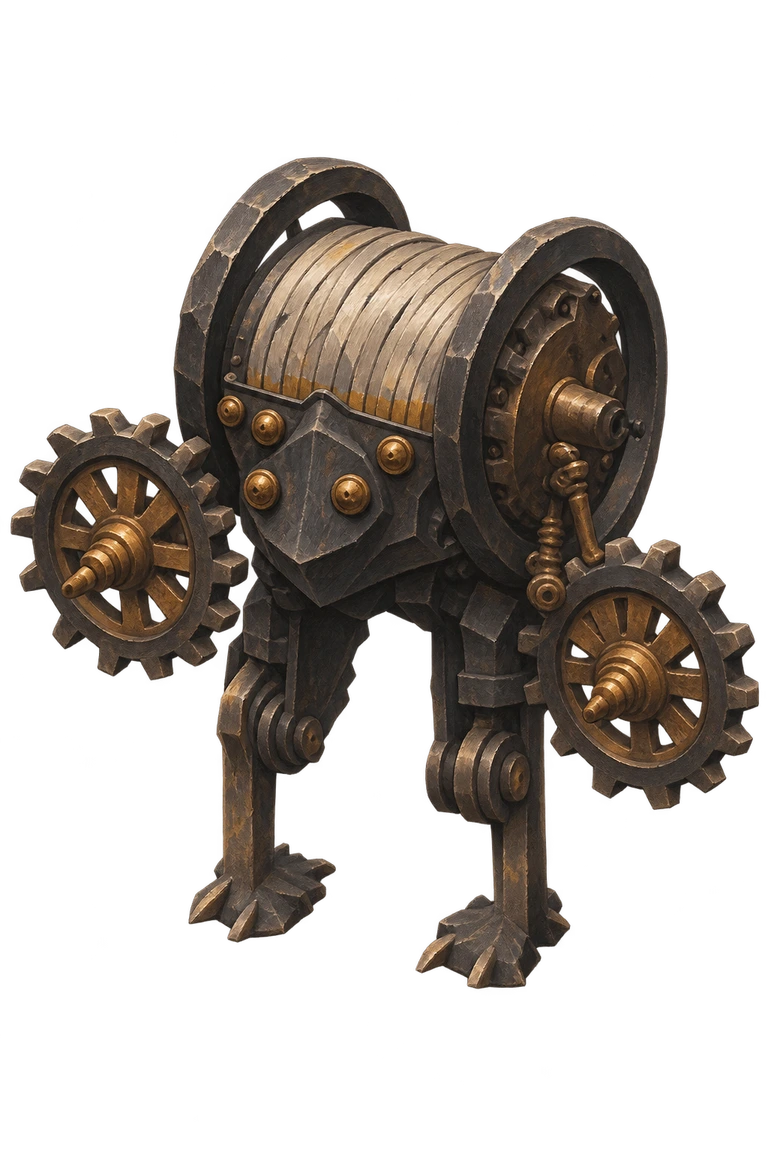
The side wheels rise before the drum strikes the treasury floor. Leave the marked area and cross back in as the cable settles.
At the receiving gantry, the Last Weigher sets its pans down in turn. The mark sits to one side of your position. Watch the next mark before stepping back in. After the two drops, the beam itself comes around. Give the arm room to pass and use its recovery to get close again. The five Shift-Tallies and the fight belong to the public crossing. You can take the maintenance road to the far landing while the lift is still locked.
The six possible entries are Assay Drift, Powder Store, High Shaft, Low Intake, Brake Adit, Winder Stair. Your journey chooses which openings lead below. All lead to the Underworks. Remember the entrance you used, because the way back brings you to that same portal. Start in the intake and look for the fork into the brake galleries. Both paths reach the service crossover. The seized drum has its own mechanism, and the keeper waits in the treasury beyond the galleries.
The Drumkeeper lifts its wheels before releasing the drum. Stay where you can see the iron rim against the floor. When the warning appears beneath you, move beyond the arc before turning to attack. Once the treasury is clear, claim its chest for the Hauler’s Girded Boots. The guardian at the crossing carries a separate reward, a weapon chosen for your class.