Unmake the Veil Anchors
Find and break five anchors sustaining the Crown’s veil. Each recovered memory brings you closer to understanding the wish hidden behind it.

 Enter game

Elegy of the Hollow Sun Chapter III
At its summit, one stolen second has lasted seven years.
Climb toward the hollow sun. The Crown of Hours holds the final memory—and the king who will not release it.
Reached after completing The Hollowfen. Progress saves in this browser.
A kingdom inside the last hour
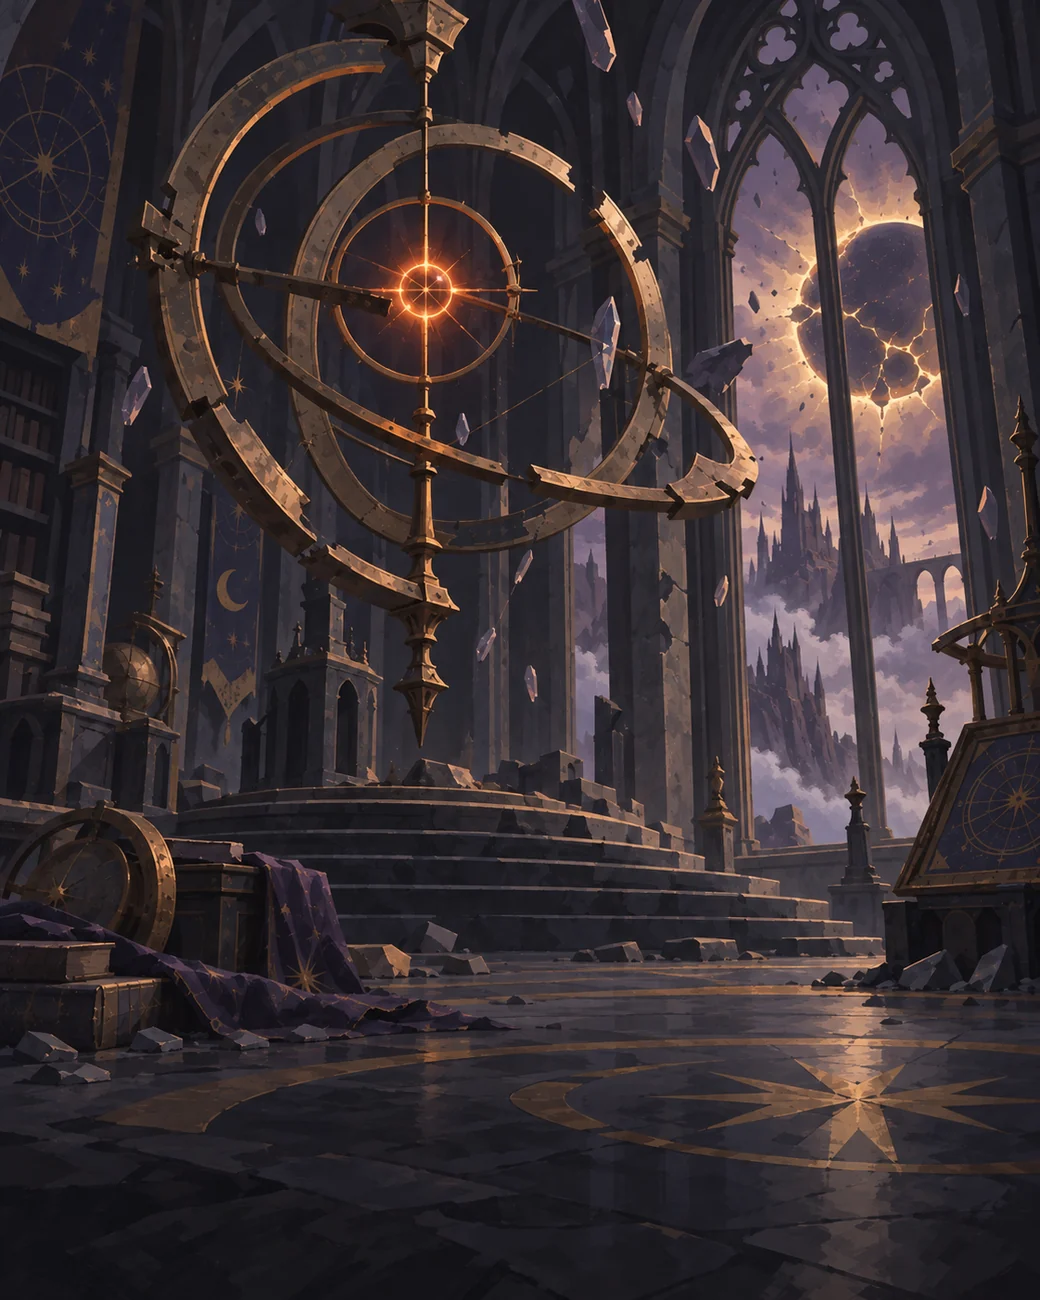
The Starless Spire brings the opening journey of Elegy of the Hollow Sun to its confrontation with King Malachar. Beyond the Hollowfen, a violet-lit tower stretches toward the unmoving eclipse. The Crown of Hours has held the world inside a stolen second for seven years.
The truths recovered in the ash and the mire lead your hero toward the spire’s summit. The veil protects more than a throne: it surrounds the memory of Elowen, the daughter whose final heartbeat the king could not surrender. Carry what you have learned into the last hour.
Meet the four sun-shard bearersFrom the illustrated Chronicle
Step into the story through the chapter’s opening illustrations.
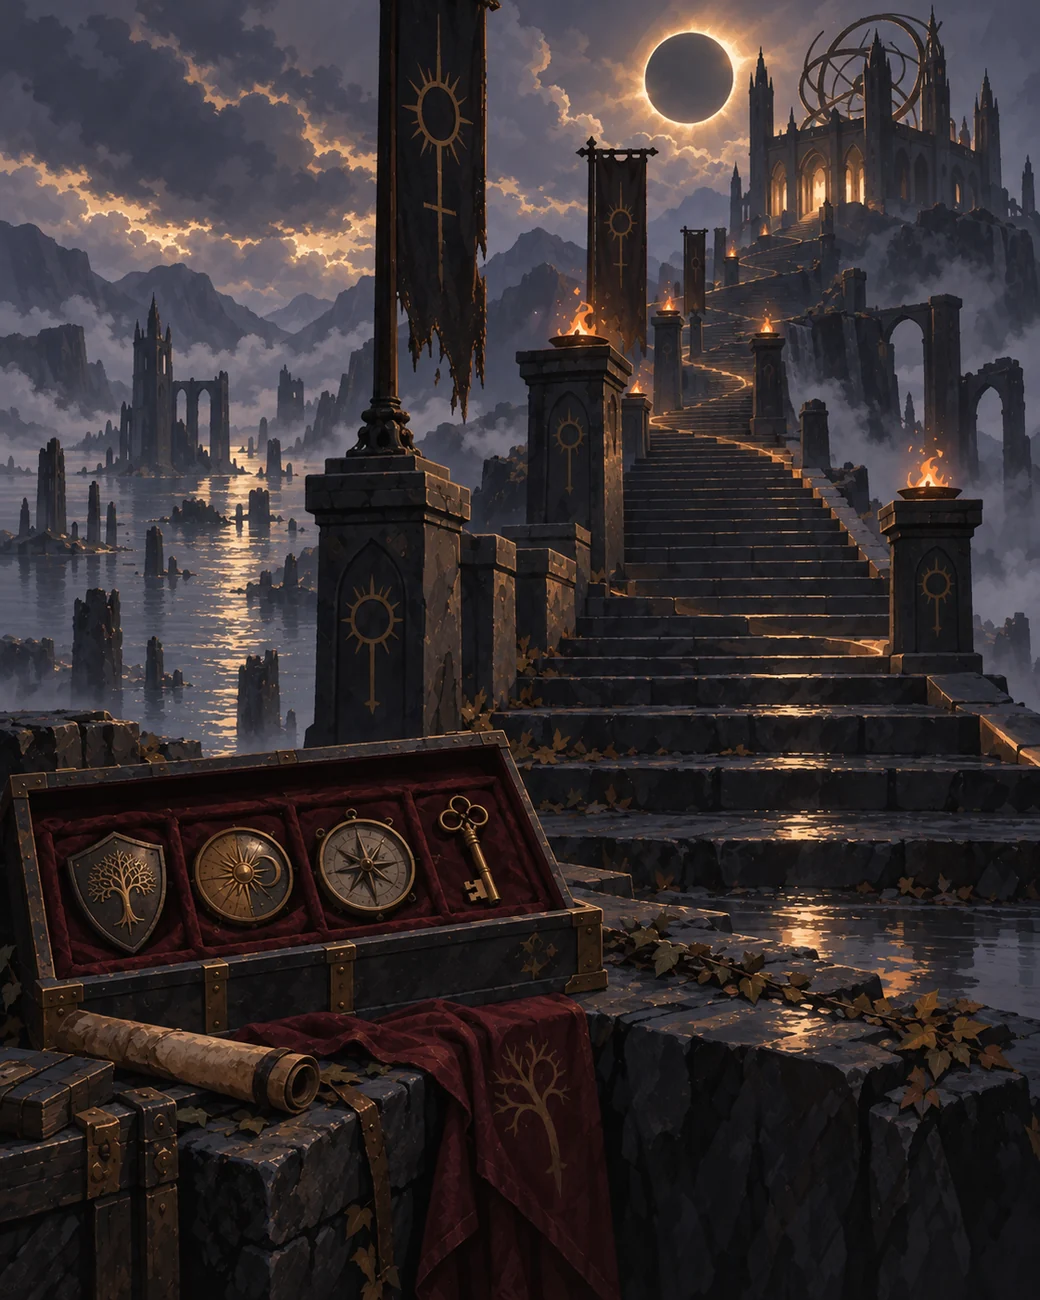
The memories you recovered lead toward the Starless Spire.
One heartbeat hangs inside the Crown’s unmoving machinery.
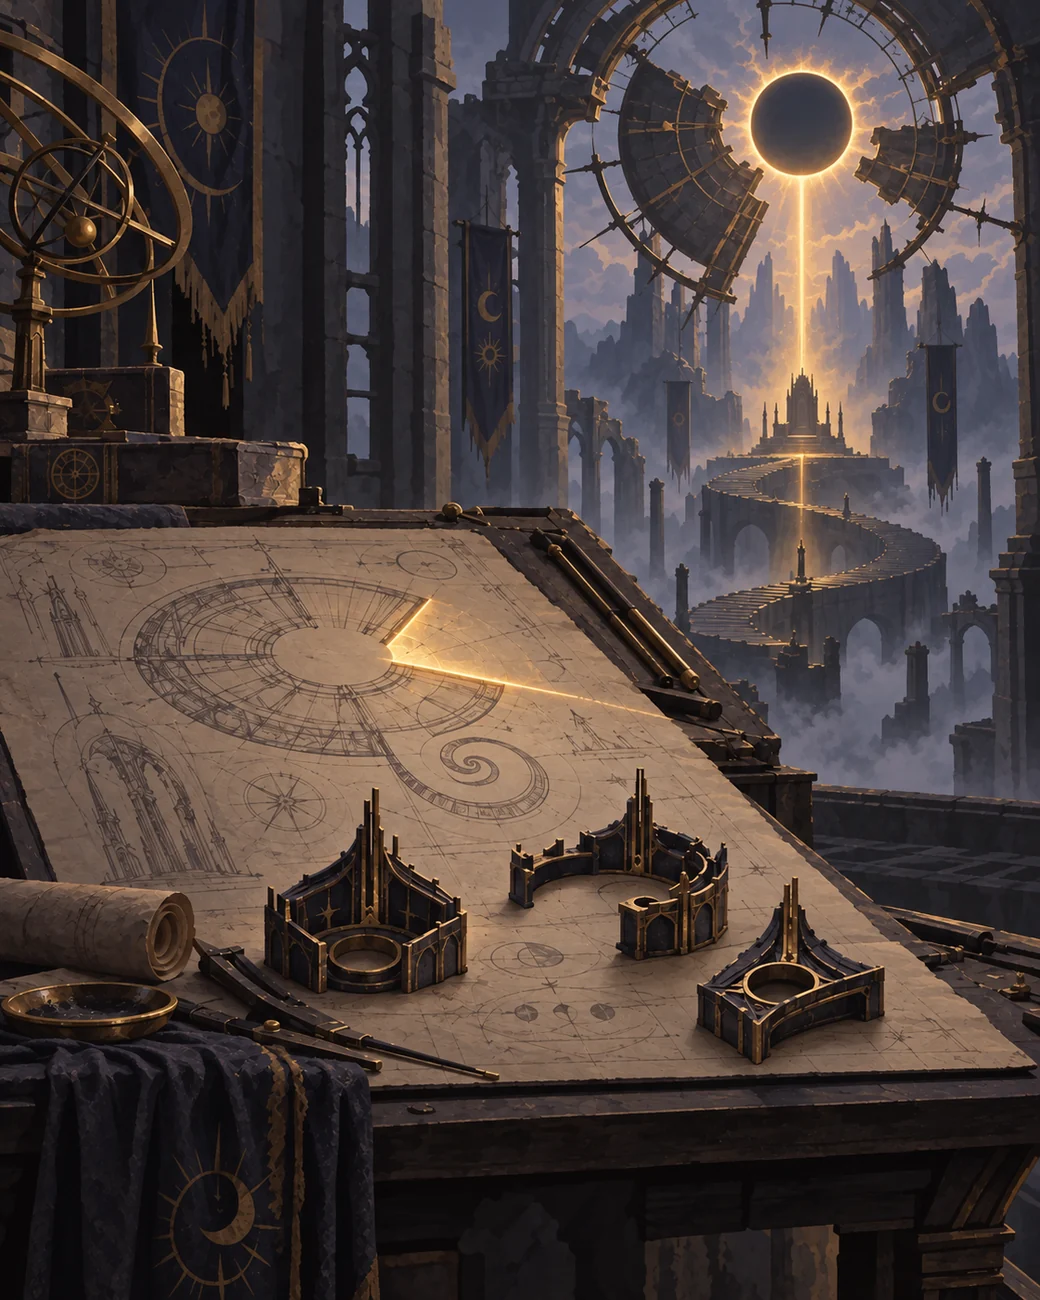
Veil Anchors stand between your hero and the truth of the Sunfall.
Memories, guardians & old promises
Find and break five anchors sustaining the Crown’s veil. Each recovered memory brings you closer to understanding the wish hidden behind it.
Serath guards the ascent. Bring your refined equipment and awakened skills to a fight against the crownsmith whose work helped shape the Crown of Hours.
Beyond the Frozen Second waits Malachar, Keeper of the Last Hour. Read his attacks, endure his changing assault, and carry your oath into the final confrontation.
Optional quests & personal accounts
The Starless Spire carries the main story onward while optional investigations, personal memories and follow-up work let you examine what its people left behind.

Investigate
Set a measured chart beside a royal correction and a workshop proof. Examine the difference between what the Crown could do and what anyone permitted it to do.
Choose, then follow through
Your dedication can lead you back to a small wish in its own words or to the workers whose names were left out. Carry that account to the instrument or vigil.

A household across four chapters
The household’s letters reach a workroom in the Spire. Follow a maker’s note and a reply toward the next meeting place; the ordinary objects carry their own history.
Optional quests appear in the tracker and Chronicle as their main-story prerequisites are met. They add accounts and rewards; they are never required to open the next chapter.

A wild companion · Moon dart
Look near the Survey Terrace. Approach when the area is safe and use the Befriend prompt. Stay nearby for three seconds to bring it into your camp collection.
Gloam Owl capture & battle guideThose who stand in your way
A Spire curse also locks you in time. Leave the circle or you will move at half speed.
Chapter guardian
The First Crownsmith stands between you and the Crown’s secrets. His wards and measured hour turn the ascent into a test of every lesson learned below.
Meet Serath in the bestiary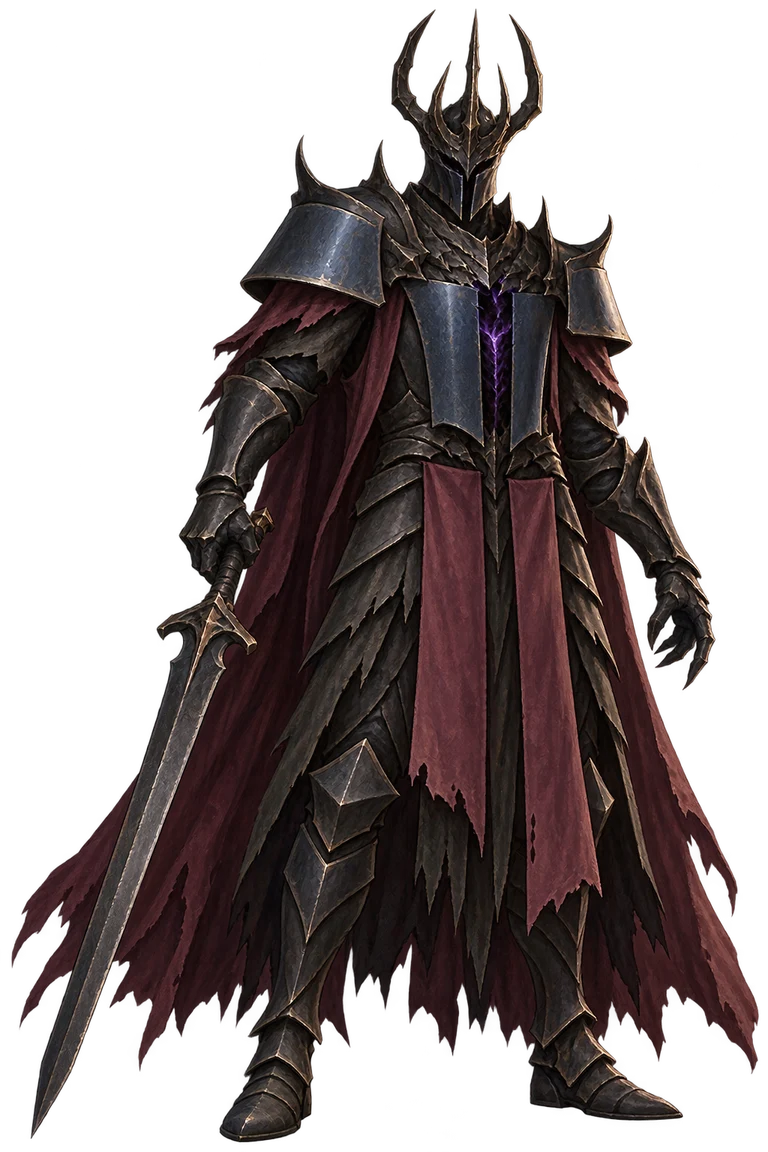
The king beneath the eclipse
At the summit waits the king who refused tomorrow. Beneath the frozen second, the memories you carry lead to a confrontation with the Keeper of the Last Hour.
Meet Malachar in the bestiary
Committed charge
Horned brutes that turn an open road into a charging lane.
Armored watch
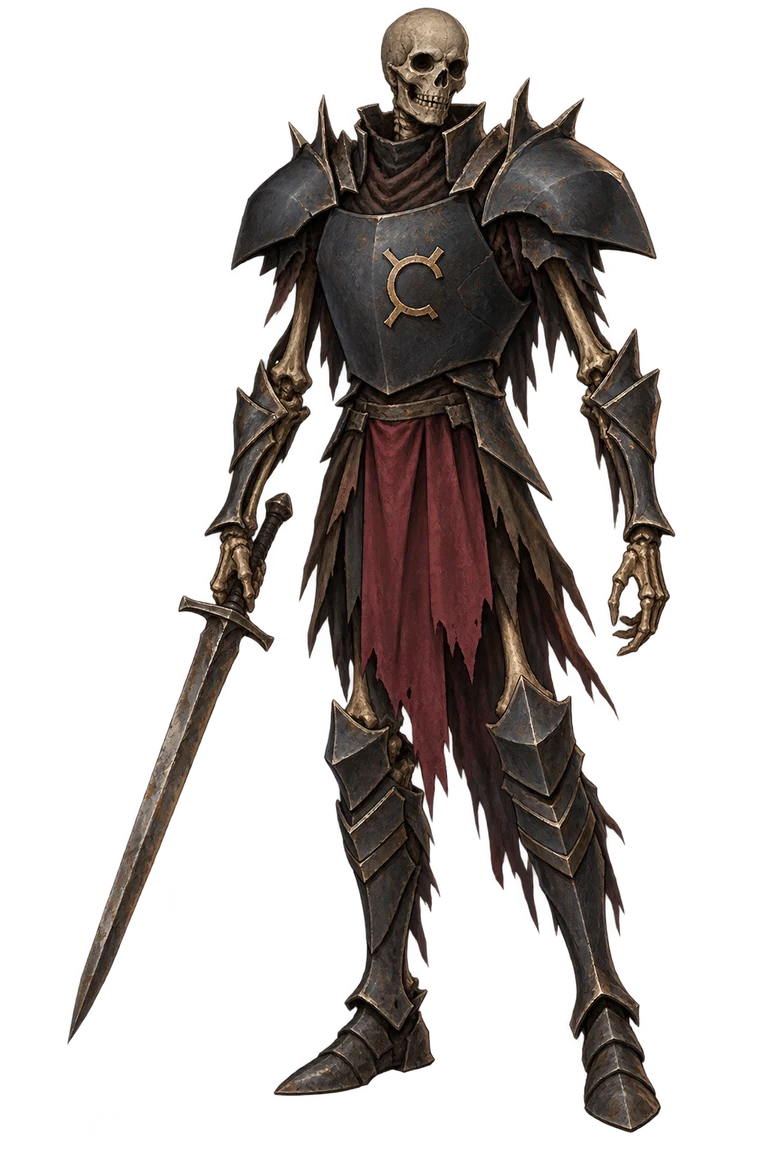
Armored swordsmen still bound to the watch. Read their wind-up before closing in.

Bolt and curse
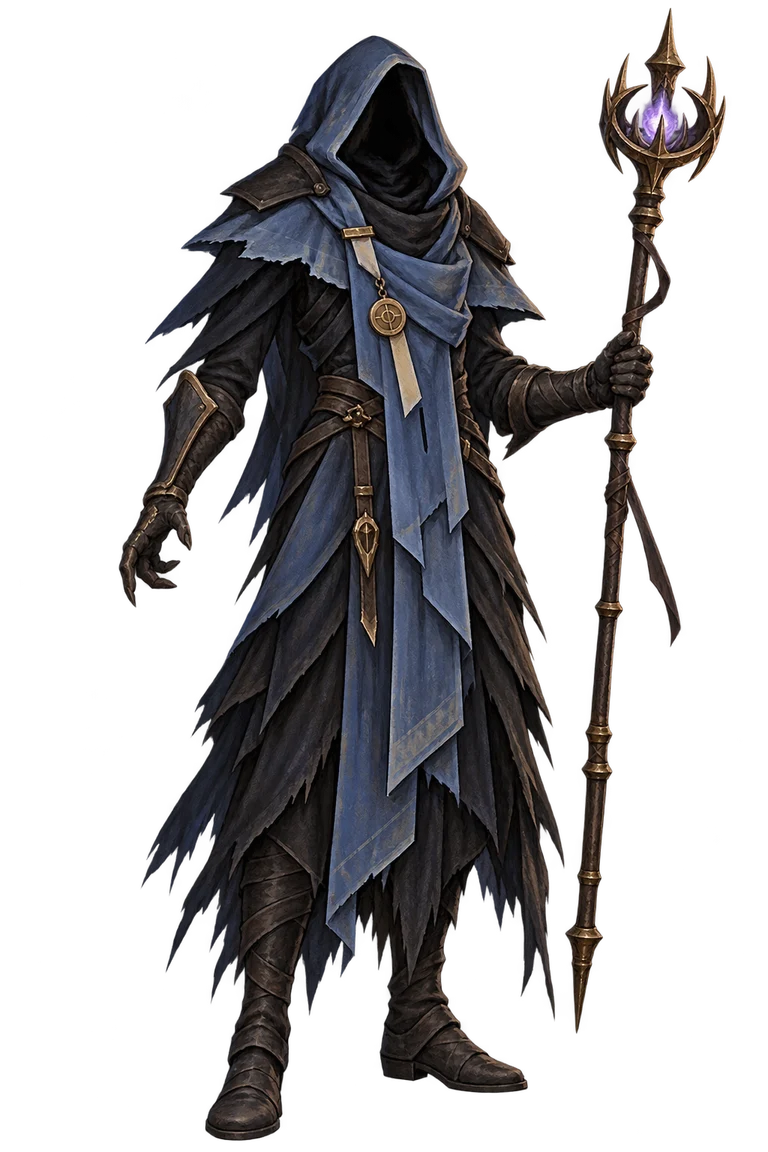
Hooded casters that threaten from a distance and curse the ground beneath you.
Pendulum slam
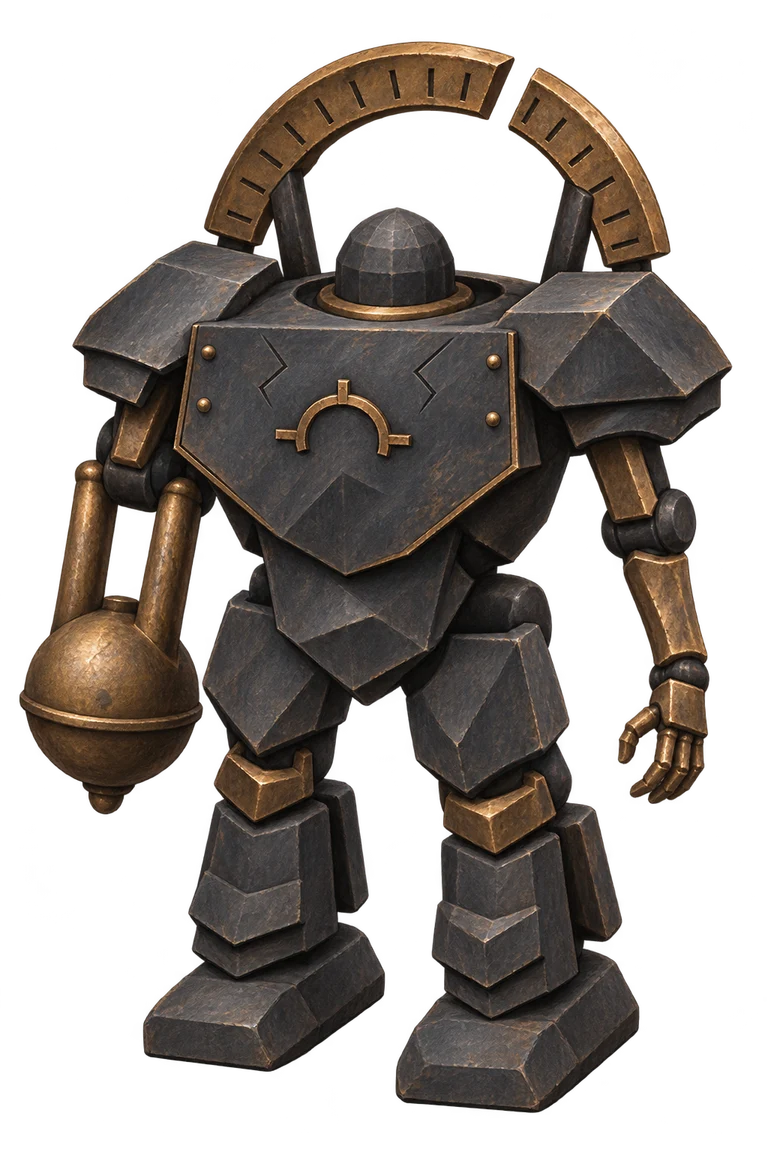
The pendulum rises before a straight lane slam. Leave the marked lane; guarding cannot stop it. Strike during the exposed recovery.
Leave the beaten road
The ascent still offers a choice to leave the main road. Two shrine trials reward those willing to face their waves with rare relics, chapter blessings, and checkpoints. Prepare your hero before committing to the climb.
Carry your oath onward
Complete the Hollowfen to reach the Starless Spire with your existing character. Refine your relics at the Ember Forge, awaken class skills as you level, and use resonance to kindle Sunburst when the battle demands it.
Recovered story scenes remain in the Sunless Chronicle, so you can revisit the memories that brought you here.
One unfolding story
Beyond the last hour, return to Cindervale in Chapter IV. The Crown has released the sun, but its stolen names still need a way home. Your hero, equipment, and recovered memories continue into the new chapter.
Prepare for the descent
Learn how entrances vary, what to collect and how to use the return passage beside the final cache.
Read the dungeon guide