Warden
A one-handed sword, close-range sweeps and a guard-focused path. Find or craft a shield and equip it in the separate shield slot. A useful starting point if you want to learn how to turn a well-timed defense into an opening.
Learn the Warden
 Enter game
Ash & Oath · Player guide
Four heroes, one fallen sun, and a road you can learn one encounter at a time. Start with a class you enjoy, read the enemy’s wind-up, and bring what you find back to camp.
Begin or continue your journey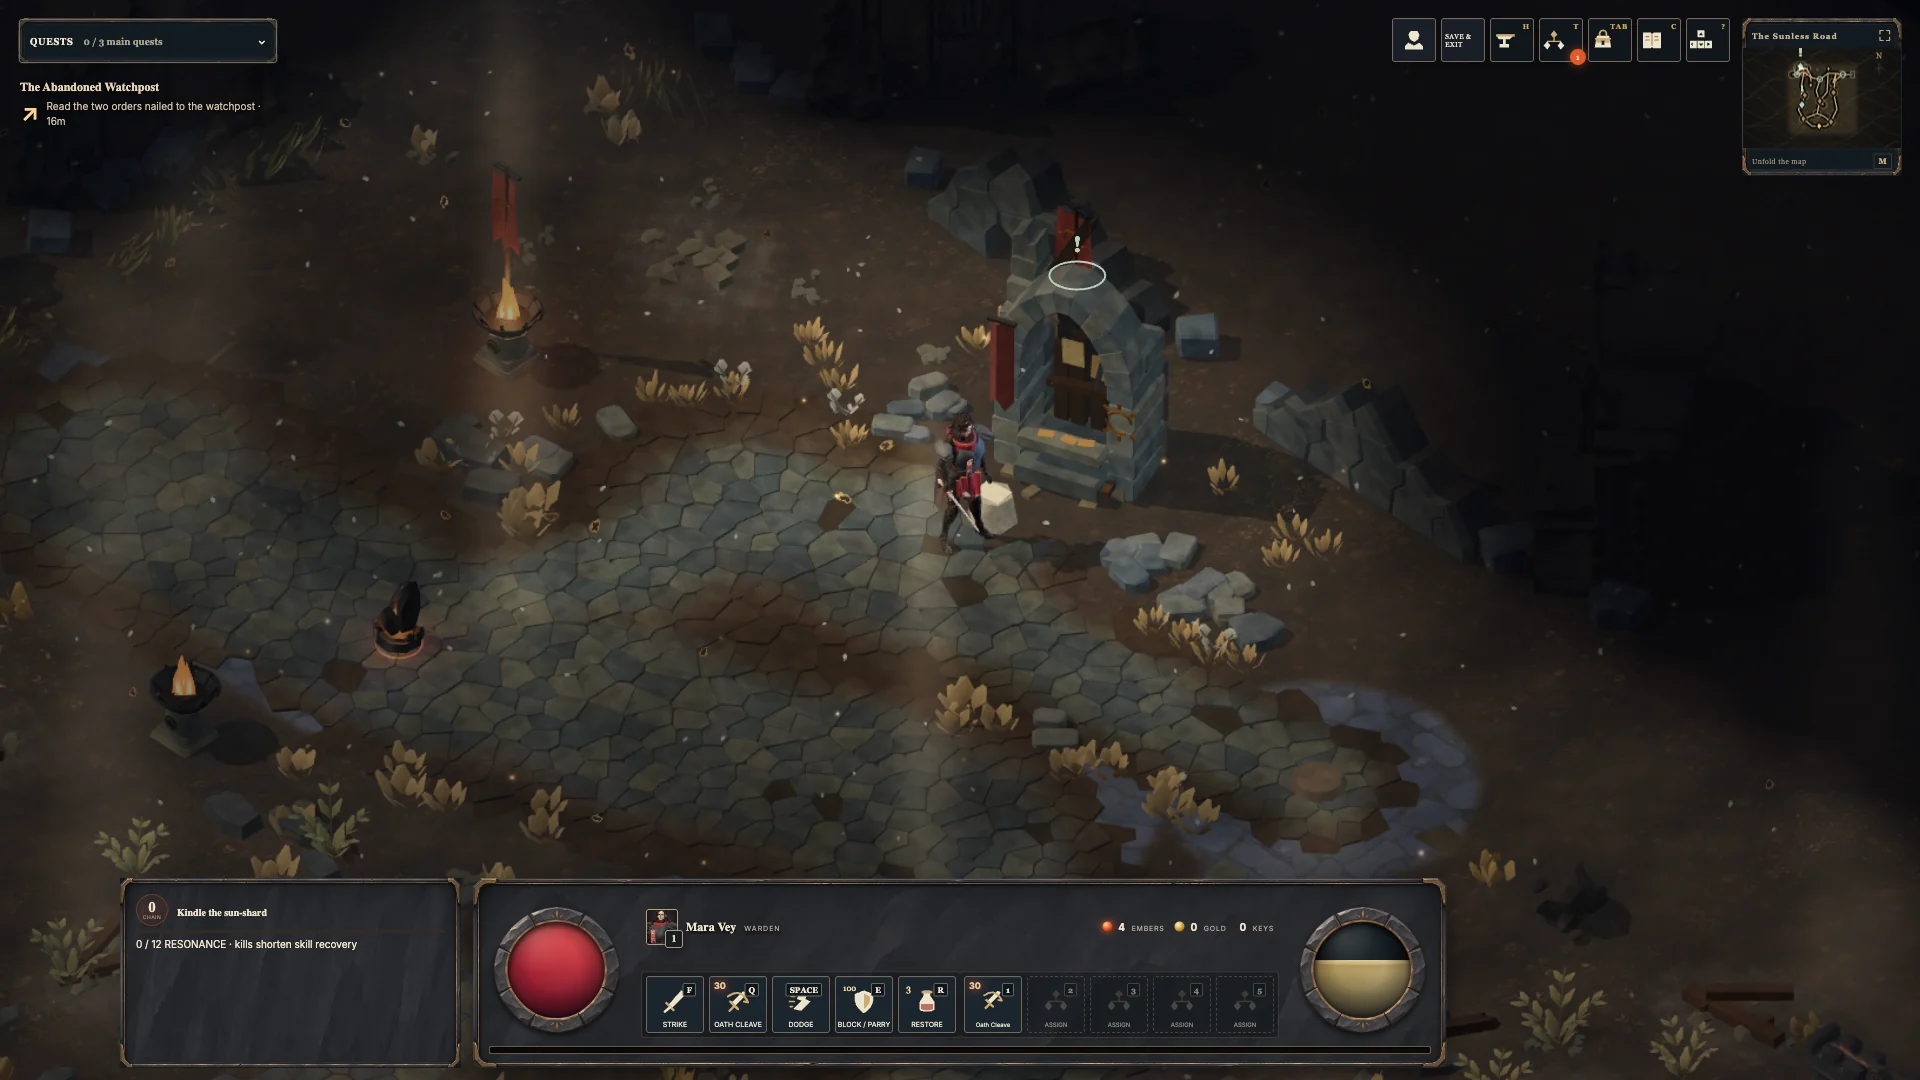
Field guide
A one-handed sword, close-range sweeps and a guard-focused path. Find or craft a shield and equip it in the separate shield slot. A useful starting point if you want to learn how to turn a well-timed defense into an opening.
Learn the WardenStaff bolts and Rift Pulse reward clear firing lines. Keep room to retreat; later skills let you blast distant packs or slow pursuers around you.
Learn the ArcanistUse a bow, movement and Ember Volley to manage distance. Reposition before a charge reaches you, then aim through the enemies following it.
Learn the RangerA hammer, a heavy close-range rhythm and Fault Line. Wait for an opening before committing a blow; extra durability does not make enemy warnings safe to ignore.
Learn the ForgebornBoth body variants share their class’s mechanics. Choosing a new hero can replace your current browser save; use Continue saved journey when you mean to resume.
Field guide
| Action | Default |
|---|---|
| Move | Left click or hold, or WASD / arrow keys |
| Attack | Left click a foe, Shift + click on the spot, or F |
| Primary skill / ability slots | Right click or Q / 1–5 |
| Dodge / guard | Space / hold E |
| Drink a healing potion | R |
| Interact / pick up nearby loot | Left click it, or X / G |
| Dungeon entrance or return passage | V when nearby |
| Kindle a waypoint campfire | K on a quiet road, after restoring the Living Hearth |
| Inventory / skills | Tab / T |
| Chronicle / map / camp | C / M / H |
On a phone, use the movement and action controls on screen and tap nearby interaction prompts. Loot labels can be tapped when you are close enough. The Controls panel shows your current bindings; the keys above describe the defaults.
Field guide
Watch an enemy’s wind-up and marked attack area. Move out of the threatened space or time your defense before the impact. A larger effect is a reason to read the cue carefully.
Attack during the enemy’s recovery, then reset your position. Keep a dodge available instead of spending every action as soon as it becomes ready. Practice against a single foe before pulling a pack.
Holding guard drains its resource under attacks. A timed parry is different from holding the button indefinitely. Make room before drinking a potion; release guard first.
Press Strike three times for a heavier finisher, or end on your class skill. At level 20 you unlock a finishing move, and elites can try to finish you when your health is low.
Learn every comboThe basic healing potion restores 45% of maximum health before camp or equipment effects. Potions are limited, so heal when you can use the restoration rather than at full health. The Ash Garden can improve their healing later.
Read enemy and boss cuesThe road toward dawn
Every step out of the ash is one you choose.
Field guide
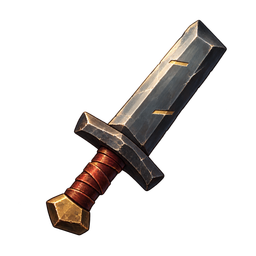 Sword
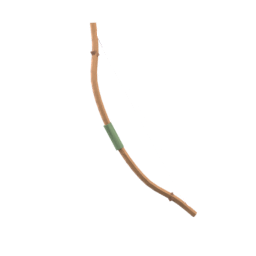 Bow
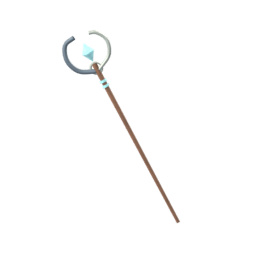 Staff
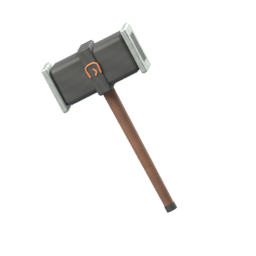 Hammer
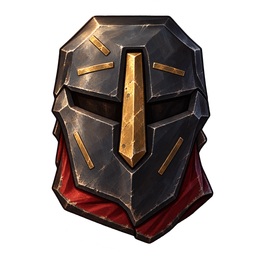 Helm
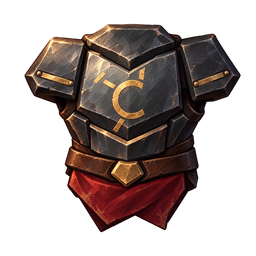 Chest
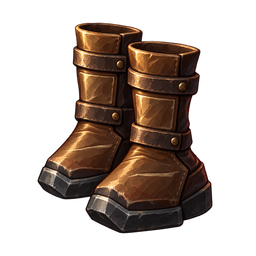 Boots
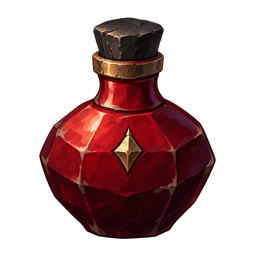 Healing flask
Equipment and healing drops stay on the ground until you collect them. Approach a labelled drop and press G, or tap its label. The prompt identifies the nearby item; walking across it is not the same as picking it up. Quest objects can follow their own collection rules.
Open the inventory to compare a relic with your equipped item. Equipped gear appears in its equipment slots and is hidden from the spare-item grid. Read the stat, level and powers before replacing something just because its color looks rarer.
Understand equipment and craftingField guide
Camp travel is blocked near enemies and during a dungeon run. Return to the chapter first, then move clear of threats. Use the camp map to locate stations and the return arch.
Plan your first camp upgradesField guide
The game saves locally in this browser during play and after important actions. Use Save & Exit when you finish. Continue saved journey returns to that save; starting a new journey asks before replacing it. Clearing this browser’s site data can remove local progress.
Use the in-game account and save options if you want to manage progress beyond this browser. Do not assume a local save automatically appears on another device.
No. All five released chapters are free, and the main storyline can be followed without purchasing a chapter. Optional quests and dungeons add rewards and context.
You return to the last fragment you reached and lose a quarter of your gold. Your level, equipment, skills and story progress stay. A companion who is still standing takes the lead instead. Hardcore heroes are the exception: hardcore can be sworn after you finish the story, and a hardcore hero whose whole party falls stays fallen. How difficulty and hardcore work.
Move closer, check the pickup prompt and make room if the inventory is full. Inspect spare gear before selling or salvaging it; salvaging consumes the selected relic.